Doll Play Ideas Craft Page
Graphic coming soon
If you’ve seen our Doll Play Ideas post, here is where our crafts are for it. I realize now, years later and updating this post, that they were a little lame… but I hope you enjoy anyway. :P
Craft #1 – Lip Balm
 You’ll need glue (not shown) an empty toilet paper roll, scissors, a paint brush, paint, a really thick and sturdy straw (with a parents’ permission to cut it) a ruler, and some newspapers or anything to cover your work area and to protect it from paint. Be sure to ask a parent before doing this, ’cause it can get pretty messy!
 Measure with your ruler and mark how long you’d like your doll lip balm to be. I’d like mine an inch and a half. :)
 Cut your straw approximately on your mark.
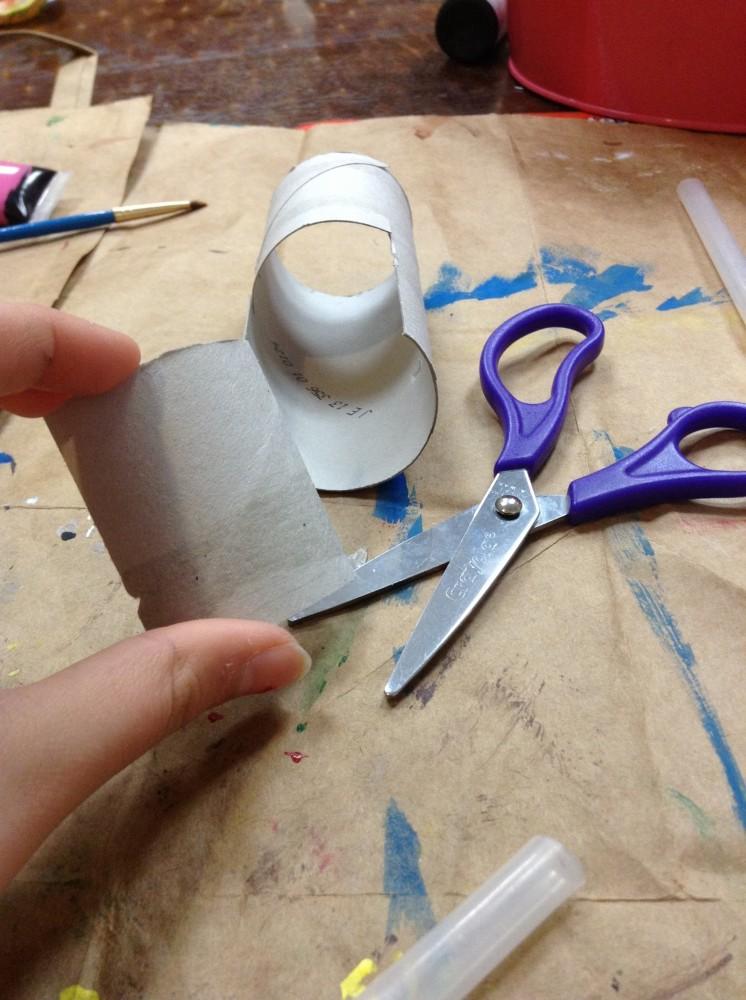 Now cut a small square of your paper towel roll.
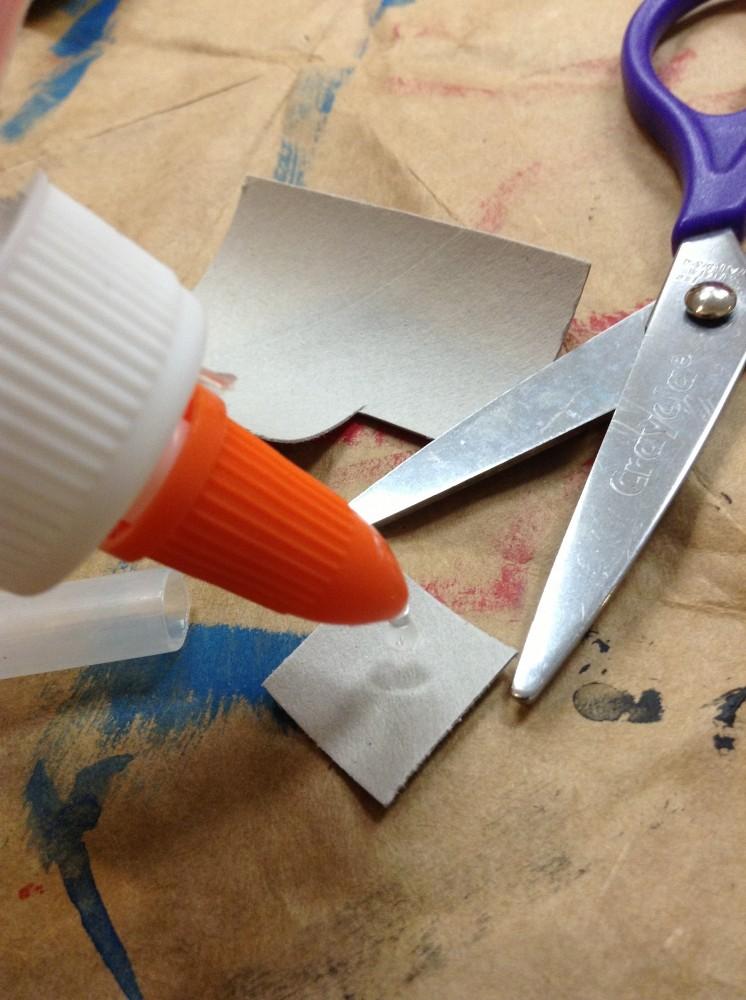 Put a dab of glue in the middle.
 You might put some on the bottom of your straw, too.
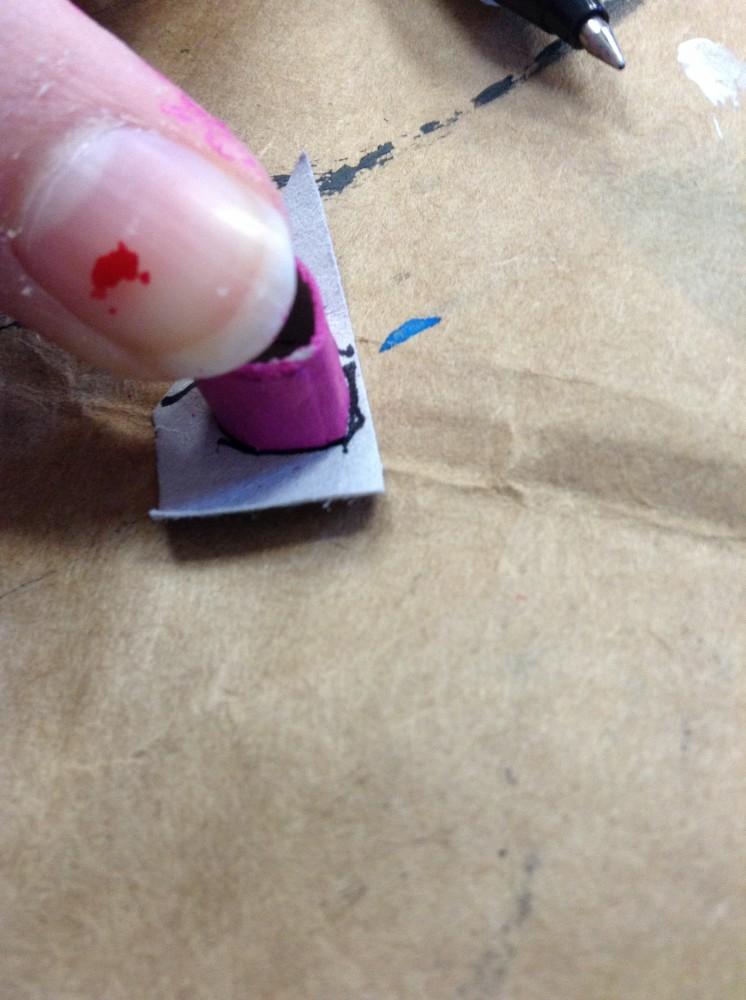
 Firmly place your straw onto the glue-y cardboard and wait for it to dry. Depending on which type of glue you use, it really does vary on how long it takes to dry. My Elmers® Clear School Glue takes about a few hours to overnight to dry completely.
* * * * * * *
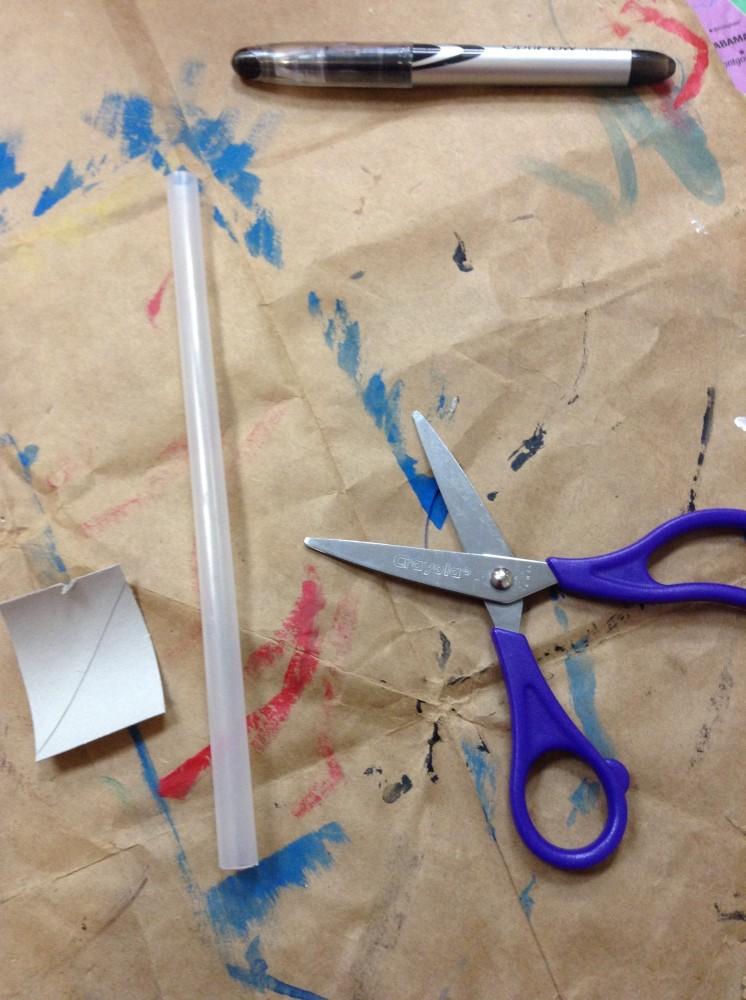 Well, it’s been a few hours and the glue is almost dry. While I wait, I work on the lid for my doll lip balm.
 Measuring..it should fit loosely around your straw, easy to pop on and off.
 Okay, now we take the ends and glue them together!
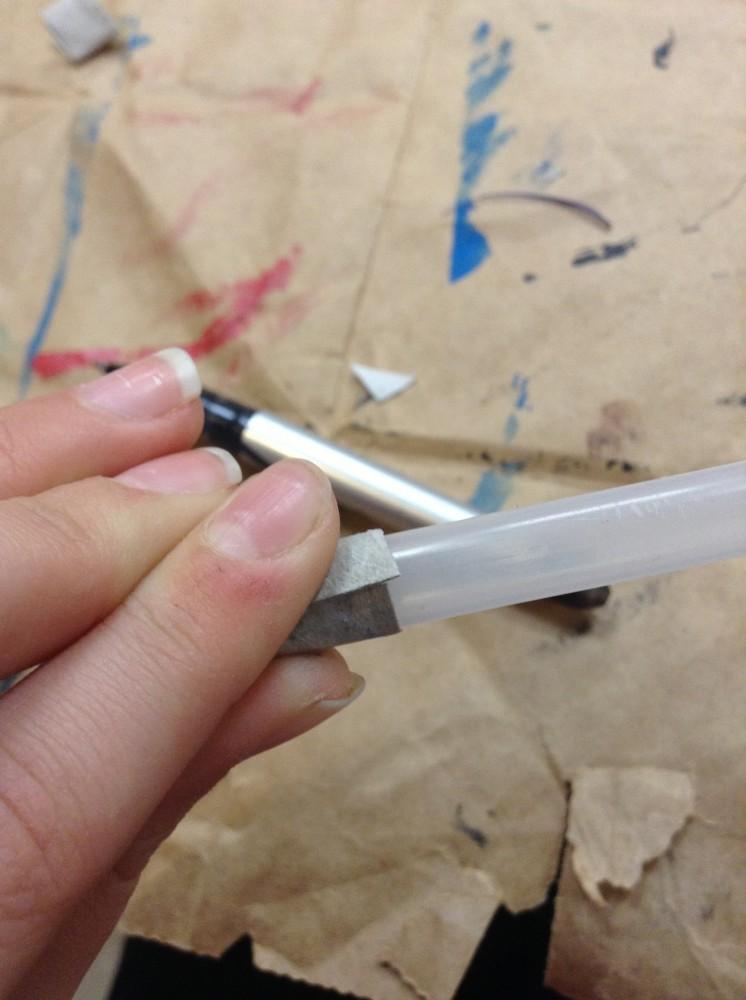 Nope, the glue won’t bring these together. It’s too tight. Time to re-measure and make sure there’s room for something to fasten the two ends together while the glue is still wet and until it dries.
 There we go, that’s better. I snapped a hair barrette onto it (don’t worry, I never use it for my hair – just for craft purposes! :)) to fasten them together until the glue dries.
THE NEXT DAY….
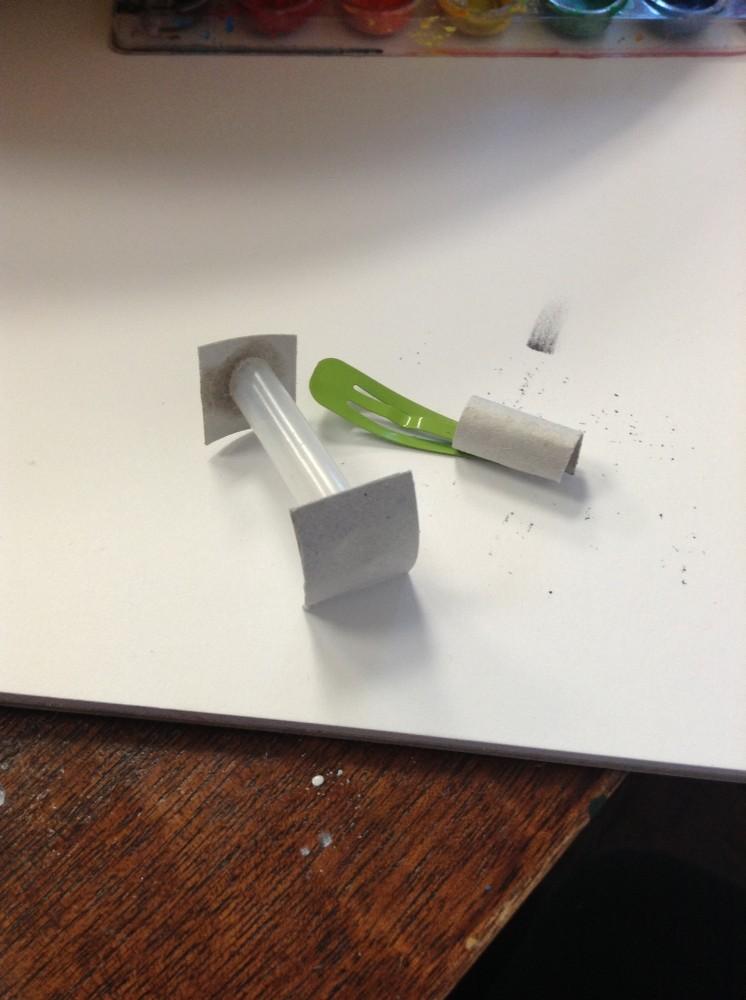 Aha! The glue has dried! NOTE – don’t put a piece of cardboard on the top of your straw. The lid won’t fit on even after you’ve trimmed it. I learned that when it came time to put the lid on. I pulled the paper towel roll cardboard off (lousy glue) and made a smaller circle piece to fit just inside there!
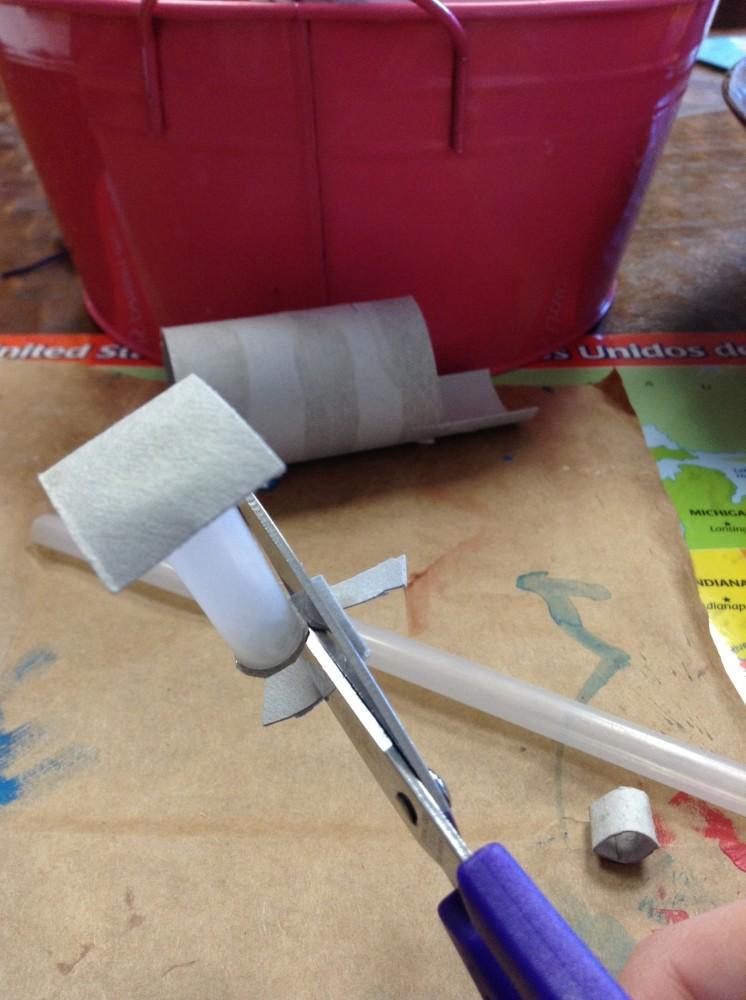 Well, trim your piece of cardboard..
 Ta-da! We’ve got the gist of it now! (minus the top piece of cardboard…)
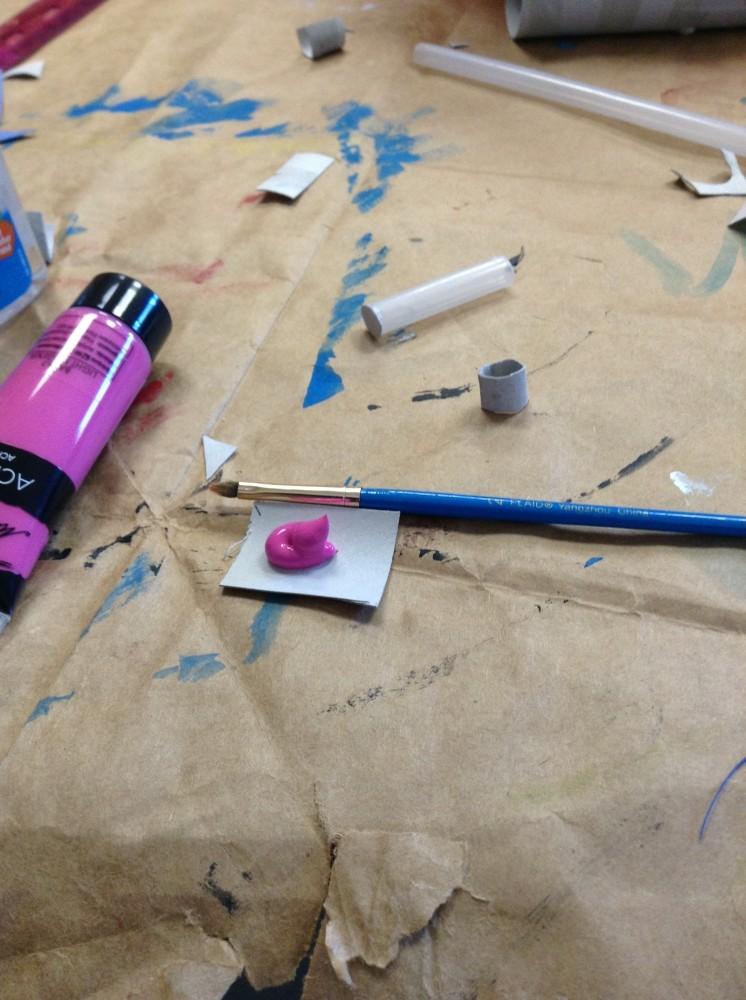 Now get out your paint! I chose a pretty pink because this lip balm will be strawberry-flavored!
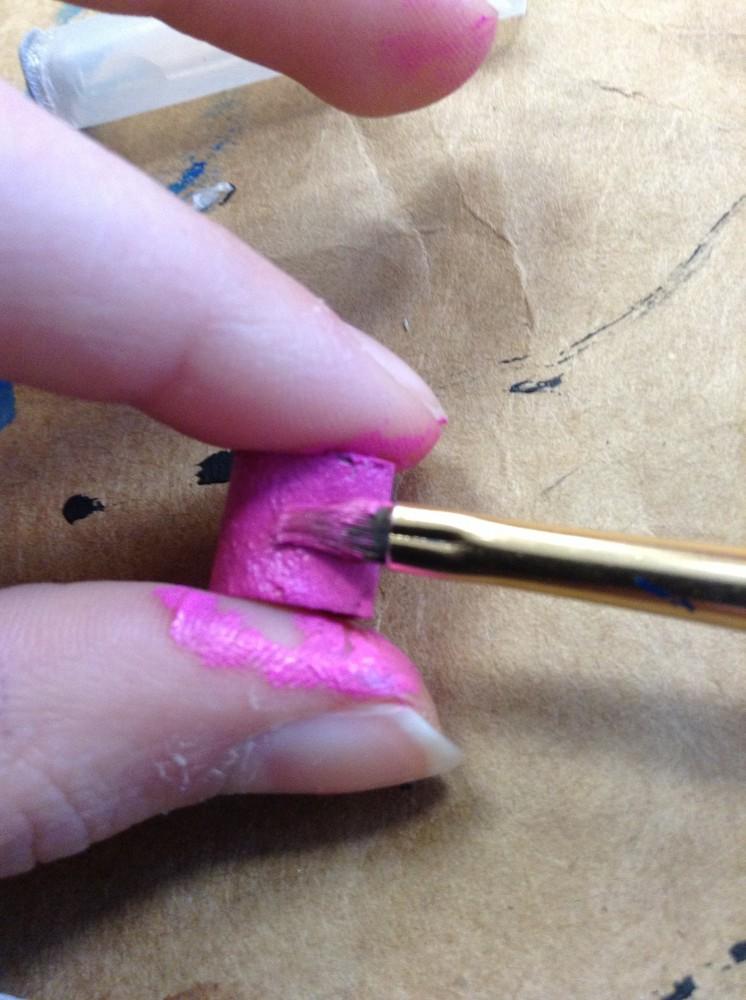 First, I take my barrette off the lid and pull off the remain excess dried glue, then I paint the lid.
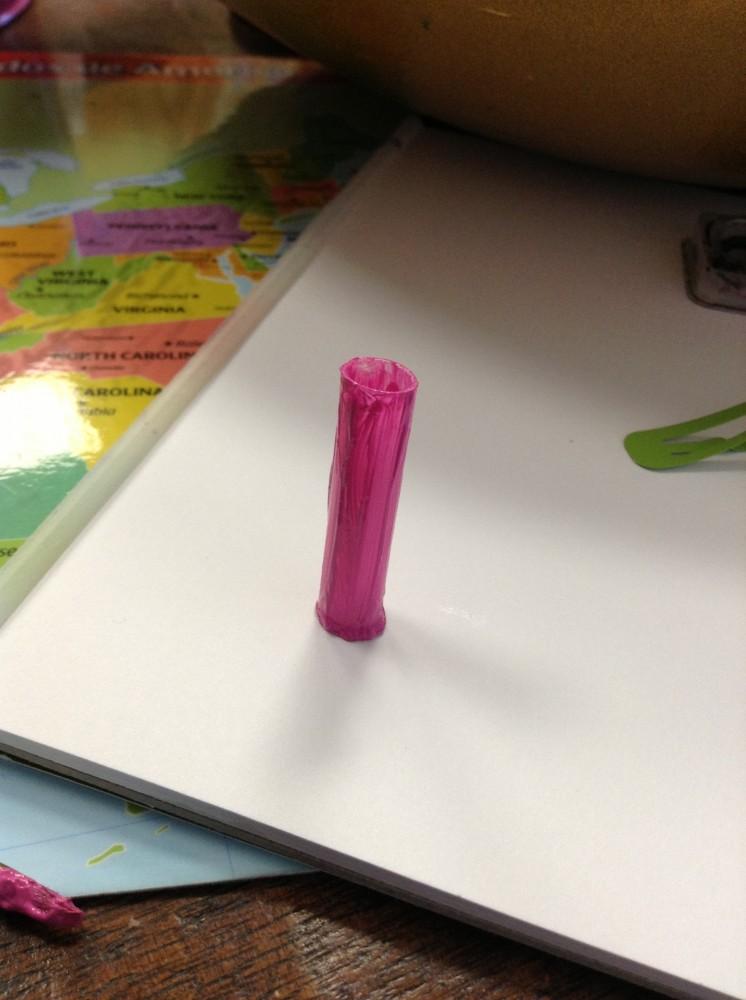 Paint your lip balm base and let it dry, too! (Finally pulled the top cardboard off)
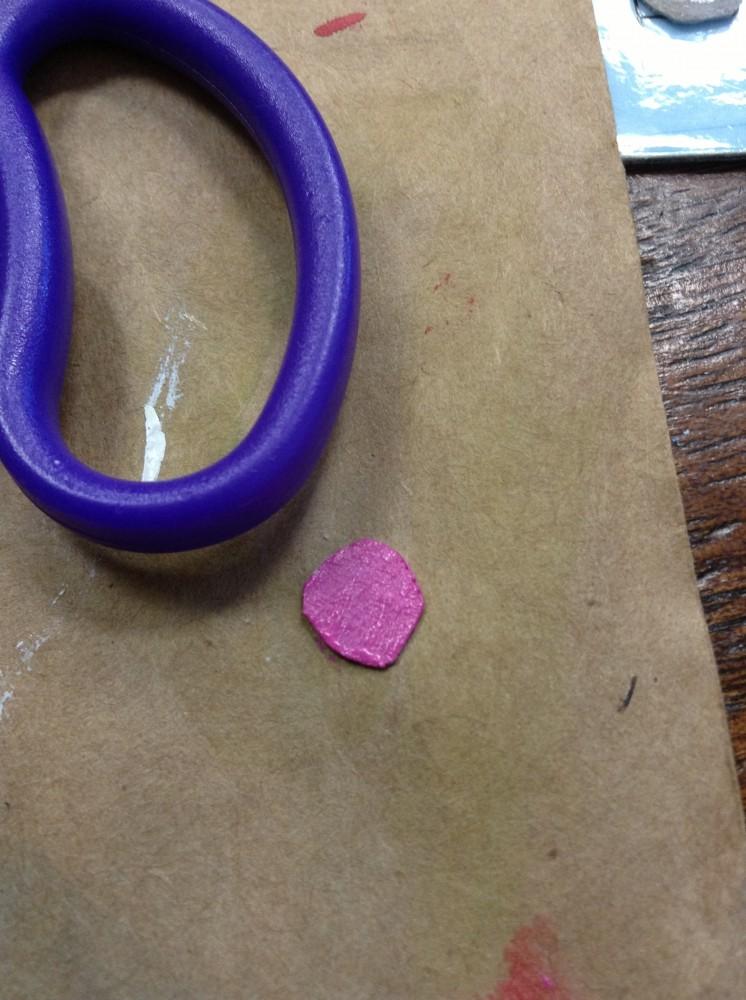 I cut a tiny circle of paper towel roll cardboard for the actual lip balm.
 Tada! Now the lid will fit over it nicely, and it won’t look so…hollow..otherwise, how would your doll put the “lip balm” on her lips? :)
 After the glue dried, I’m painting the lid now.
After you’re done painting, take care of your paint brush and wash the paint off in the sink.
 Yay! The paint is dry now! The lid is on,
 And whenever you doll needs to use it, pop off the lid and there is your chapstick/lip balm!
Craft #2 – Folder
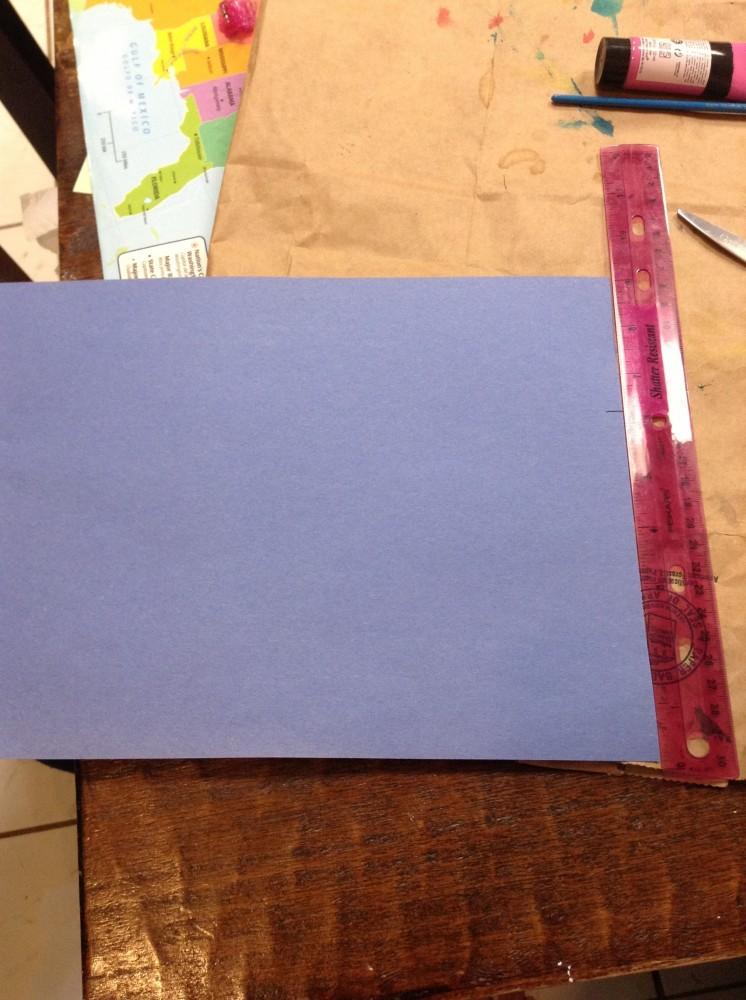 Start with any color construction paper you’d like. You’ll also need a ruler, scissors, and a pen, chalk, or pencil – anything to mark with.
 You might trim some off and fold over to make sure this is how you want it to look, but imagine the bottom half gone.
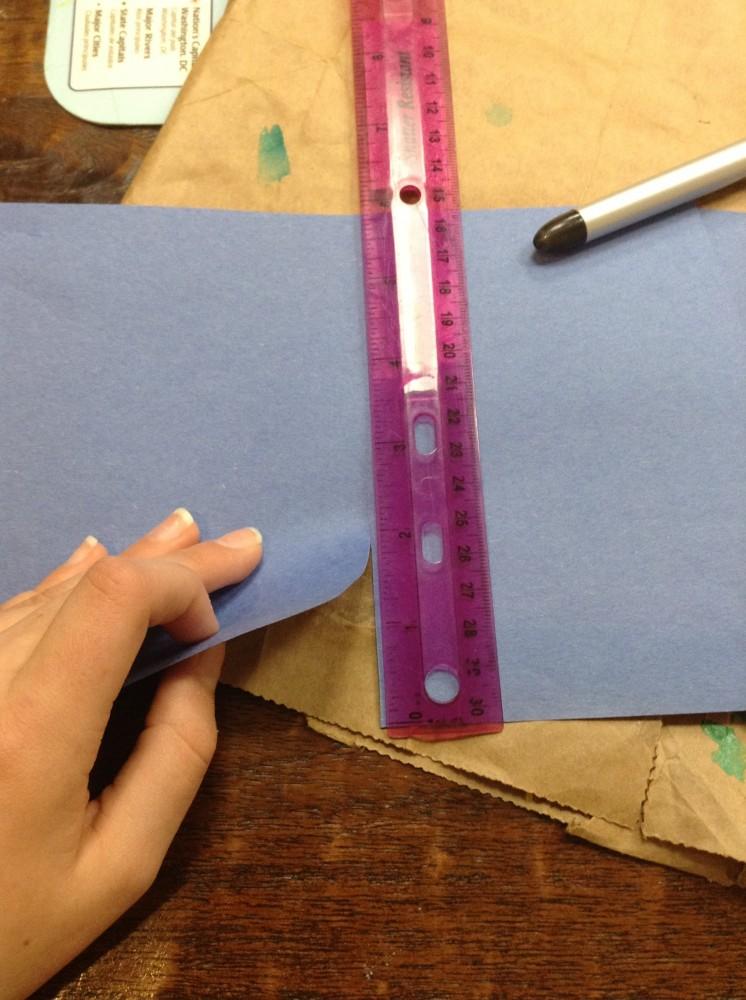 Measure about three inches from the bottom up. (remember – your construction paper should be SIDEWAYS!)
 I cut mine slanted to give it more of a “folder” look.
 Fold it over (ahh! mine tore at the top :() and decorate your dolls name!
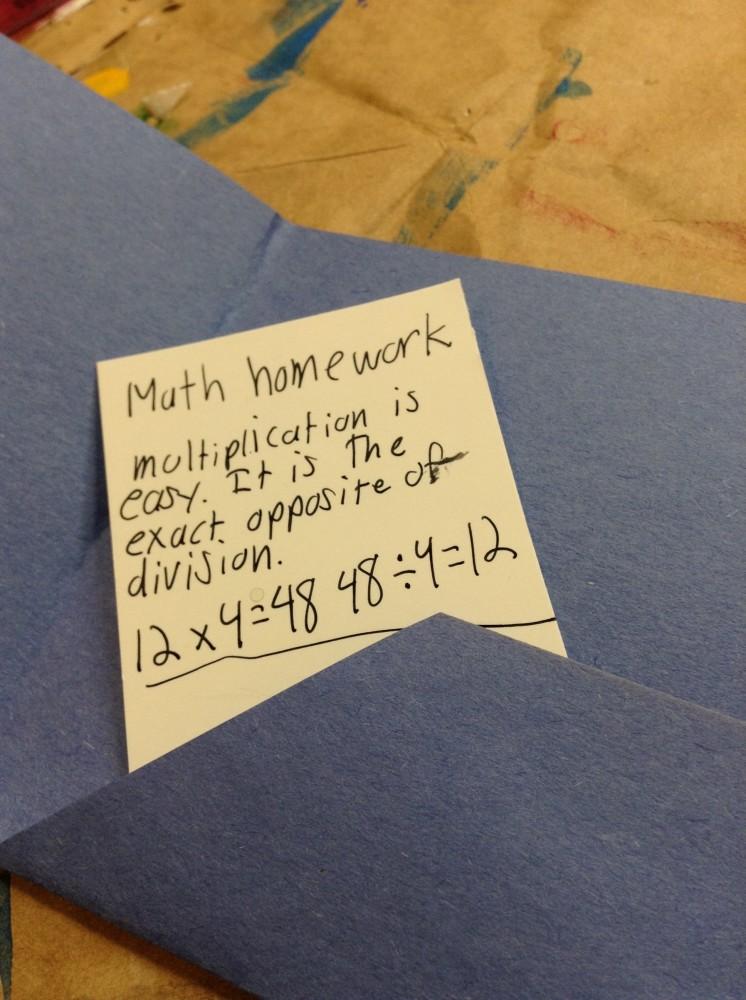 Fold it open and slip your doll’s school papers in them. Ahh, better study that good, Molly! There’s a quiz on Friday! ;)
Craft #3 – Laptop
 Start with some thin cardboard. You’ll need scissors, glue, a ruler, and something to mark with.
 Just measure how long and wide you’d like both the screen and keyboard to be. I made mine six inches tall and then cut it out and then kept trimming it until I was satisfied.
 You could print out a web page to put on your doll’s screen, but since my printer only prints black-and-white (how weird would that look on a colorful website, like AG?) I made one instead.
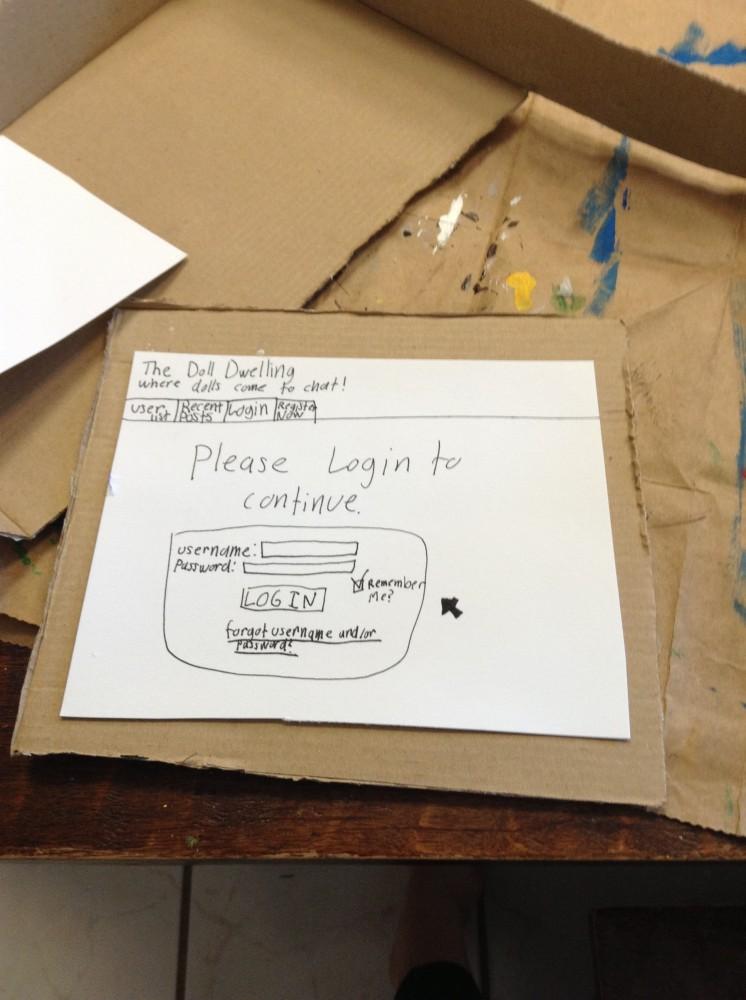 While we’re waiting for that to dry..
 …cut out your keyboard and two thin strips of cardboard.
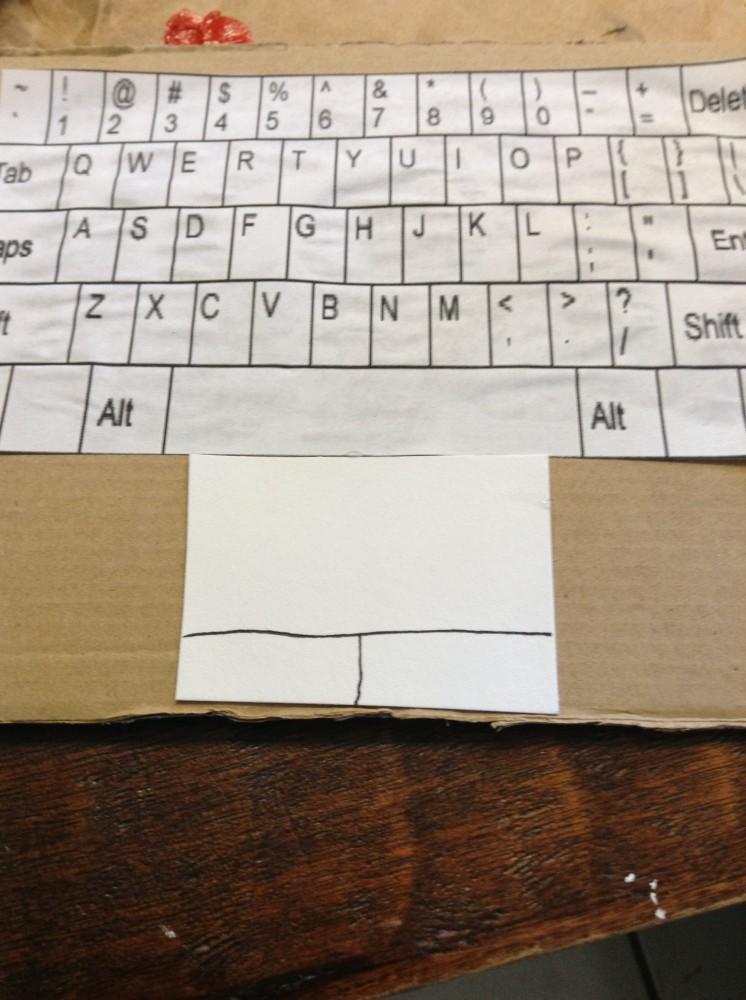
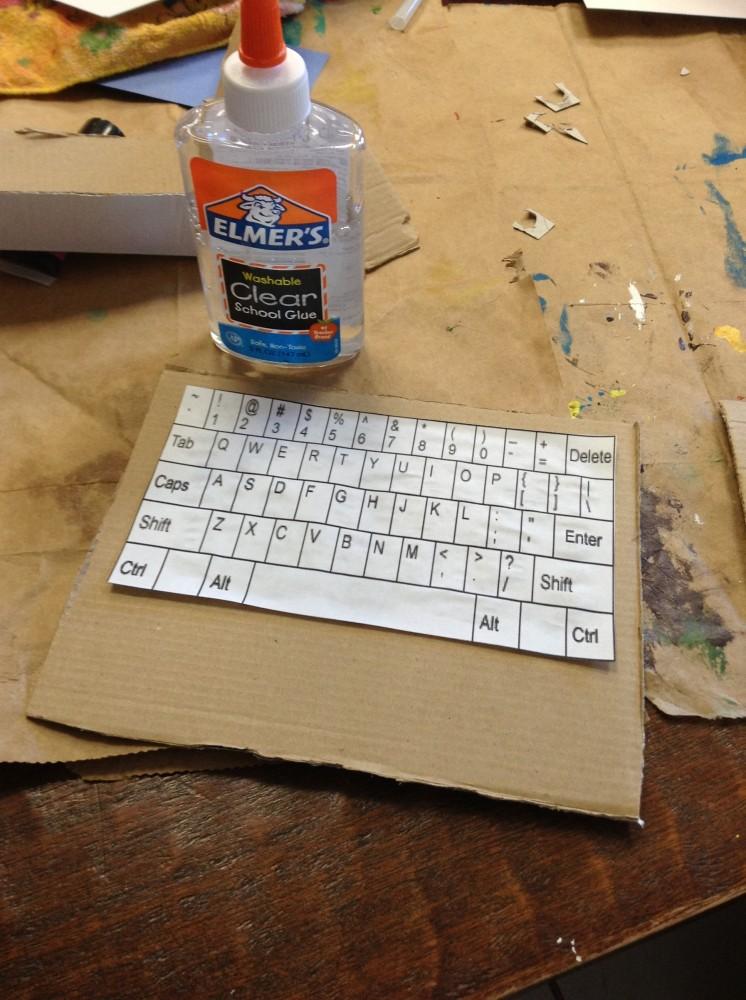 With the help of my mom, we found an image of a keyboard that was perfect! I sized it down a bit and printed it, cut it out, then glued it!
 While those dry, ben your cardboard strip like this.
 Put some glue on one end. and paste it onto the bottom of your keyboard.
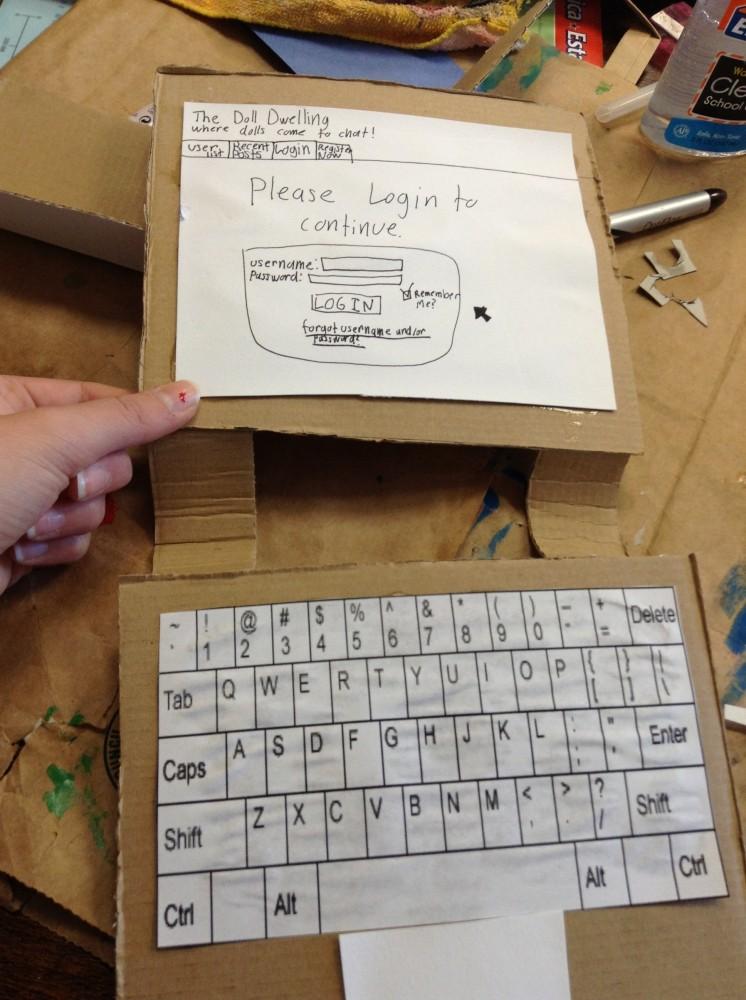 Repeat with the other strip, put glue on the other ends, and paste the screen onto them.
 Yay! A few hours past and it’s all dry! Now, when your doll is not using it, she can close it like this and put it away.
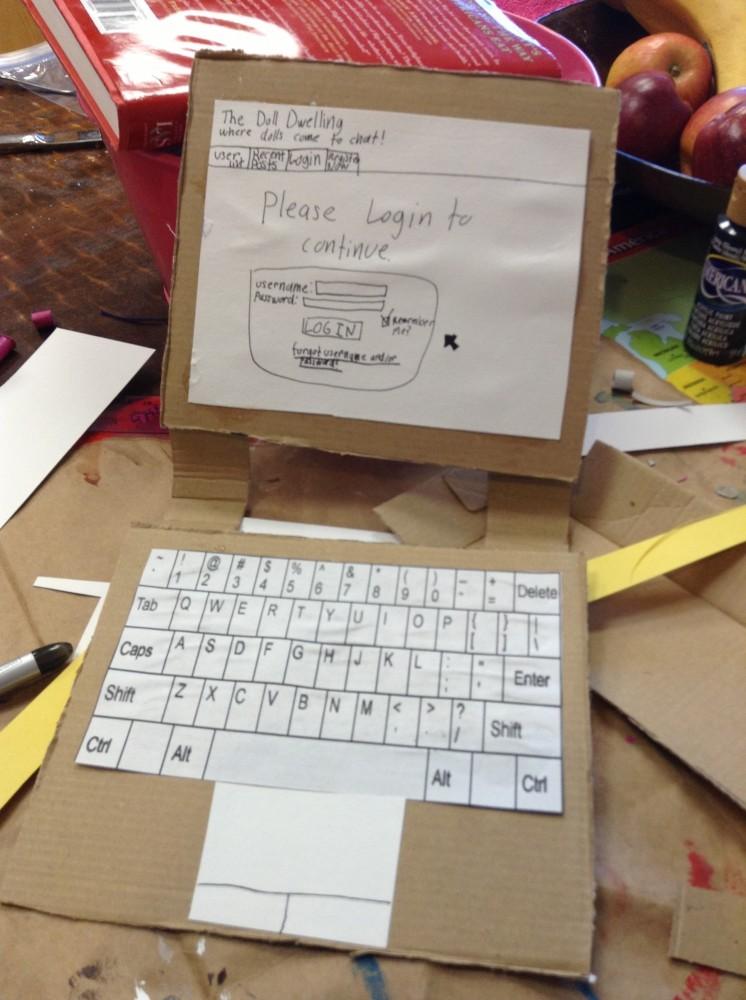 And when her chores and school is all done, she’s ready to flip it open and play again! :)





This is super cute!! Can’t wait for more crafts!!!!! : )
Can you make a doll store?
Oh my gosh I thought of the folder idea long before i read this! XD
Those are so cute! I will try to make some of them this weekend.
Thank you for commenting everybody! (and sorry I didn’t notice this quicker!)
Anonymous A. – I don’t get what you mean. Like a store where dolls shop at? I’ve made that two times – in my Black Friday Shopping AGSM and the Molly Goes Shopping AGSM. :)
~Madison~
When are you posting more? I would love to make a target or walmart. Hang up the clothes and make a coffee shop. Use the doll boxes ( slash beds) and stack them on top of each other to make shelves. I might do that and send pictures to Agfan…
This is just it. Just three crafts related to the Doll Play Ideas page, sorry : ( :)
That sounds cool, you should do it!
The Black Friday -sopping- AGSM?
Where do you see that?
^^^^^up there^^^^^
Oh, thanks, I found it. :P
Sorry that I keep correcting your typos and misspellings. I just can’t stand them! :)
That’s okay! I can’t stand it when I see typos, either. Even when I proofread a tpyo or two might sneak out anyways! LOLOL!
Hi mad yyyyy this is Sophie from home tx love you and miss you
Hello! Your website is so awesome! I love the lip balm craft! I think you might like my website that I made with my sister, Alexa.
funwith-dolls.webs.com
Thanks for the awesome posts to read!
Aw, thank you, Maggie! I’ll try to check out your website as soon as possible. Thanks for commenting, you’re so sweet!
Love the laptop!
Thank you!
Im Aviona I LoveAmerican Girl Dolls I Just Got One Two Days Ago So Bye
Hello, Aviona! Welcome to the world of AG dolls. Congratulations on getting a doll, that’s awesome!
Luuuuuuurve the laptop!
Cool craft ideas especially the laptop. I used to have a wooden laptop for my dolls but then my dog chewed it up so I should make this. I made a dance studio for my dolls a few months ago. This Christmas my uncle made a doll ice skating rink for me with a scenery for it and a lodge for my dolls. I love making crafts for my dolls. Maybe I should add a craft thing on my American girl doll website.
Thank you! And oh my… Did your dog eat any of it lol? Hope he was ok!
Ooh, a dance studio! That sounds really neat!
Oh wow a skating rink! Your uncle is really nice! I love crafting too… Do you sew? Sewing is really fun. I have an old sewing machine my Aunt Aunette gave me, and sew stuff all the time for my dolls!
That’s a good idea. You could post the crafts you like to do for your dolls!
Sorry I am replying to you late. I made a doll craft thing on my website. So far I have done how to make play doh food for you doll and how to make a dance studio for your dolls. I also use my studio for gymnastics. I have McKenna GOTY 2012 who does gymnastics.
Making a studio for your doll is actually really easy. I will tell you how to do it. You will need two AG doll boxes. Then what I did was hang up a dance poster that I made in it. I also put in a chair. Then I put a pencil between the top of one of the boxes. I used doll hangers to put up dance clothes. I put the hangers up on the pencil. I put a sticky note on the pencil that said dance competition tomorrow. I have a doll shelf and I put it in one of the boxes. On top of the shelf is a doll tv I made. On the outside of one of the boxes I taped a pencil for a dance bar. I might get a mirror and hang it up above the dance bar.
No prob! :D And that craft sounds really cool! :D
Ok I am glad you like my craft idea bye.
:) :) :)
can you make grace someing
I have a cool idea for making a doll fireplace. You get one of those Quaker oats granola bar boxes (or something about the same size. I’d measure one but I can’t find the ruler) and cut out a hole (leaving in the bottom) that’s about five by six inches. Paint the box or tape/glue colored paper over it (don’t cover up the hole!) to make a fire color/paint or print out flames and glue them to the bottom of the hole. You can drive nails in to hang stockings on for Christmas
That’s a really good idea! I made a fire place too, but not as detailed. It looked a little skimpy. LOL!
Hi! Great blog!! You are really good thihnking up posts to do! I have a blog too!
http://www.littledollsontheprairie.com/
Please check it out! Thanks! Liked your Lip Balm tutorial! You could also use a mini hot glue stick so that you don’t have to glue on cardboard. Thats what I’d of done! Great idea though!
Chloe
Thank you so much, Chloe! I’ll visit your blog really soon (I have to ask permission before going to a new site). Yeah, a hot glue stick probably would’ve worked better, LOL!
Thanks for commenting! :D
No prob! I love your mission to tell others about Christ!! Makes me happy that others out there really want to tell others about Christ!! Thank you for that!
Chloe
Thank you so much, Chloe! I can’t help but tell others about Jesus – He is so amazing!
I totally know how you feel! What’s even more cool is that we are sisters! In Christ!! YAY!!!
Yes, isn’t that awesome?! Whever my friends and I go to places together, sometimes people ask if we are sisters. And we always answer yes, and then add, “In Christ!” Which proceeds in making us all laugh because usually nobody else understands that! :P
Oh that is so funny! That is a great idea! And is so true!!!
LOL, thanks! Yeah! :D
I think I invented a new doll computer design: It’s pretty much the same thing but instead of gluing the screen on, I used a glue stick to glue on “screens”, and I would gently pull it off and replace the screen before the glue dried. I,m CrazyGirl
That’s really neat, CrazyGirl! :D