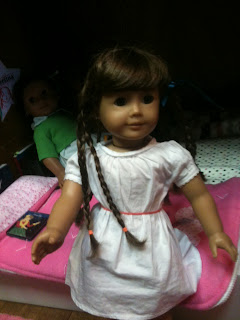
Hi, girlies! It’s Olly Molly here, ready to show you another CREATIVE CRAFT CORNER!! Today, we’re showing you how to make the ‘Happy Meal’ box from the McDOLLnalds post! Get your crafts supplies together, and let’s get started!
Why, hello there! Molly here!
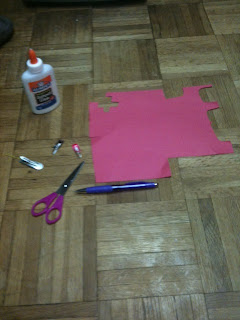
YOU WILL NEED:
*Glue
*Bobby-pins and/or barrettes
*Scissors
*a Pen/pencil
*Red construction paper
* optional yellow construction paper.
Let’s get started! :D
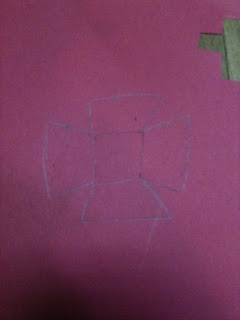
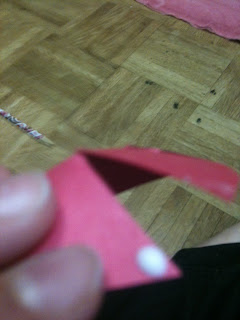
Step one: Grab your pencil/pen and draw this shape out of your red construction paper.
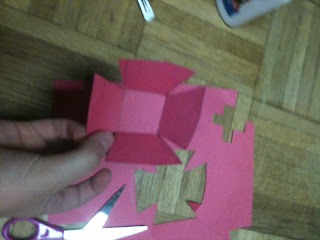
Step 2: This is what it should look like when it is cut out.
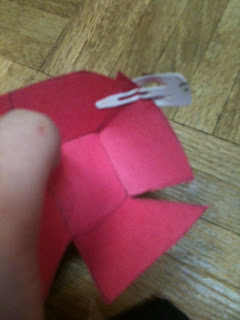
Step 3: Get one of the corners and put a dollop of glue on it. Bring the corner beside it up to it and stick it on there.
Step 4: Use your bobby-pin/barrette so it will stay there while the glue dries.
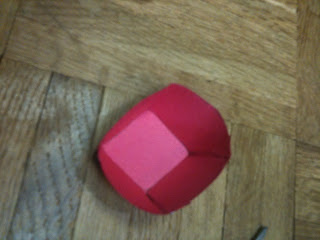
Step 5: Do steps 3-4 for all of the corners. This is what it should look like when all the clips are on. The glue should dry in 5-10 minutes. If using a hot glue gun, it should dry right away. If using super glue, it should dry in about a minute.
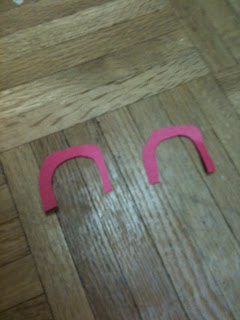
Step 6: Cut two equal, long, handle shapes out of the construction paper.
Step 7: When the glue is dry (the amount of time it takes to dry depends on the type of glue you have) carefully take off the clips.
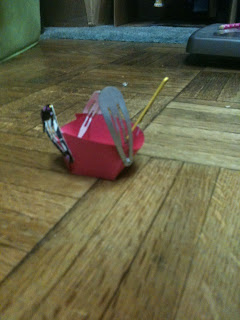
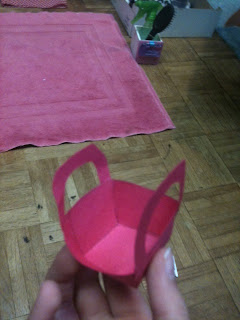
Step 8: Glue on the handles. Wait a few more minutes for those to dry. Then, (OPTIONAL) cut two circles out of yellow construction paper, and a smile out of construction paper. Glue them on to the sides on the ‘Happy Meal’ box for a McDollnalds ‘logo’.
You’re done! Simple as that! And now you have a cute and tidy little box to store all your little Happy Meal goodies! For food or drinks, use that artist side of you to make those things out of clay or play-doh! And the best part is: It doesn’t just hold Happy Meals! Why, it can be a doll’s best friend for a petite little basket for picking flowers or to store her earrings! Have a wonderful and blessed day now!
~Love,
<3Molly<3






AWESOME!!
Thanks! :D :D :D
~Molly
Cool! My dolls updated their blog by the way!!!
Thank you SO much! I’m going to look at your dolls blog right now! :D
That’s cute! I love mcdollnalds. It’s cute!
VEMG
Aww, thanks! :D
I LOVE YOUR BLOG!
Thank you SO much!!! This made my day!
~Molly N’ Madison
(with Josefina and Cecile!)
PS: I made a comment on Merry Christmas! Go check it out! Actually Marie-Grace made it.
VEMG
OK!!
Are you gonna do a new post soon? LOL!
Yes! Probably today, if we are not too busy. Either it will be a Creative Craft Corner showing you how to make a kite for your doll, or a photo-story called “Coconut’s gone missing!”
~Molly
Yay! I love Photo Stories! I hope you do them more often!
WHOO-HOO!!! LOL!
I’m taking pictures for the photo-story now! :D
yay!!!!!!!!!!!!!! LOL
When I’m on an iPad ill do anonymous but when I’m on the computer ill do name/URL
WHOO!!!! BEST BLOG EVER!!!!! LOL!
VEMG
Thank you SO much!!!
Your Welcome
:D
There the raspberry glasses. You can check my site out for the post (www.agdollysisters.blogspot.com)
Wow! OK, I’m checking it out now! :D