So your dolls have a Christmas tree, and probably a couple of presents underneath it.
But maybe you’re shooting a stopmotion or photostory/shoot and you want the Christmas tree to be bursting with gifts under its beautiful branches. You want the perfect setup scene with tons of cute doll-sized wrapped goodies. Whatever the case, today I will be showing you how to make these absolutely adorable doll-sized presents!
And the best part is, it’s not just for AG-sized dolls! They can be for any type and size of doll. The gift sizes are completely customizable and turn out adorable in any way! ?
But first, let’s take a look at all the previous crafts of the Christmas Craft Collab…
 Christmas Craft Collab #1 – Countdown Calendar
The phenomenal Light4theLord has the cutest, easiest tutorial on how to make a fabulous Christmas countdown calendar for your dolls! As you can see from The Countdown Chronicles, my dolls have been having waaay too much fun with it. ?
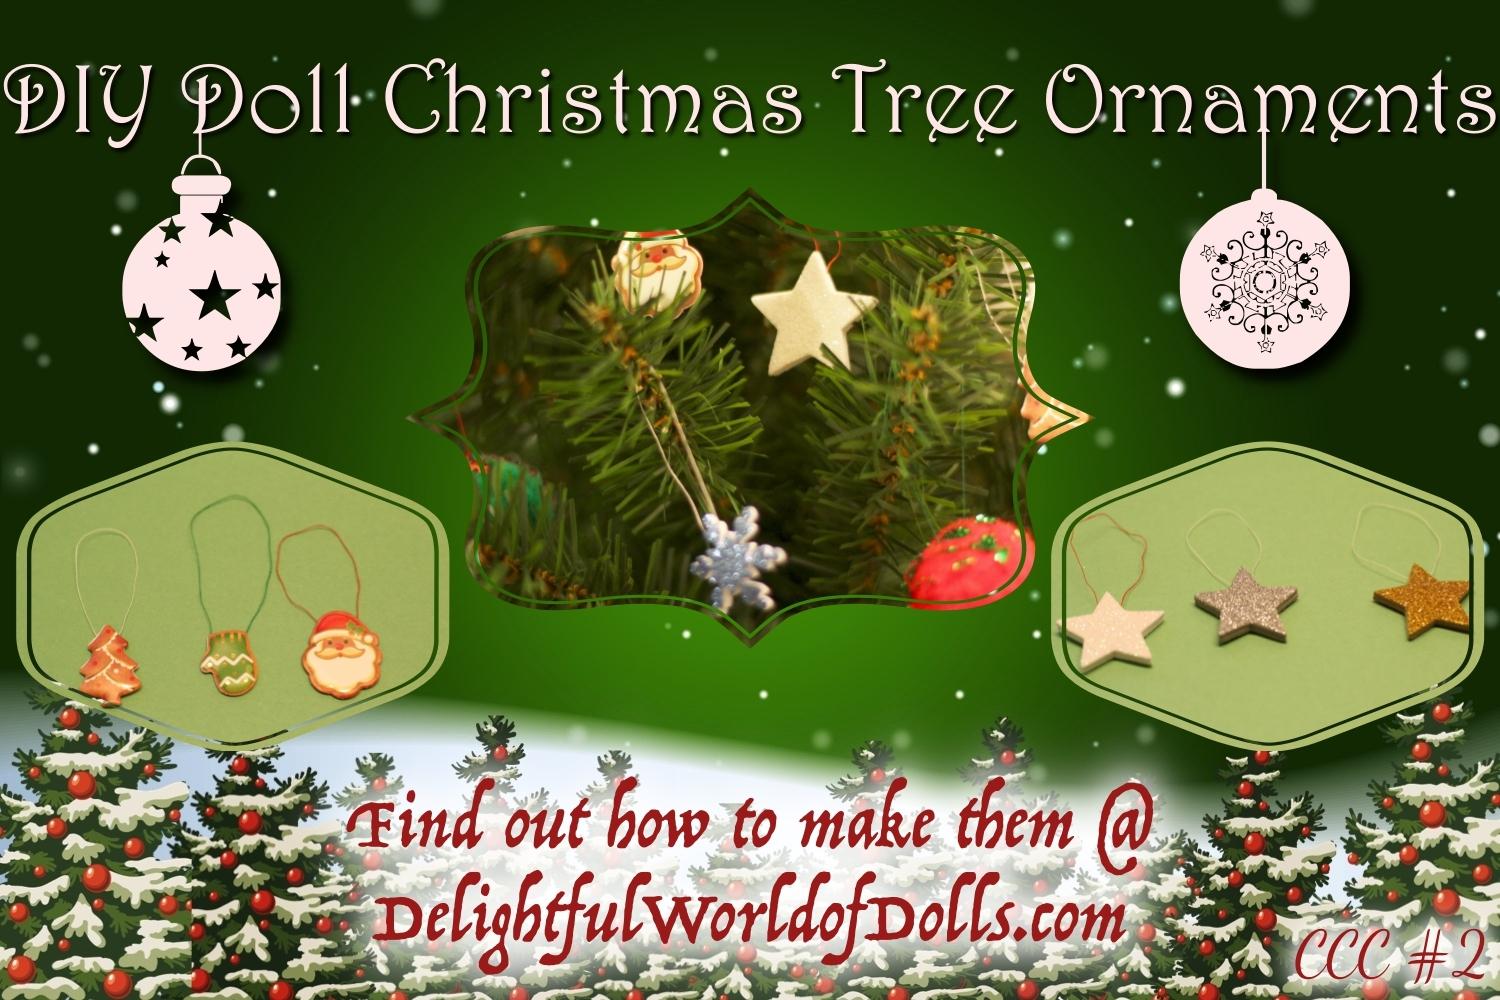 Christmas Craft Collab #2 – DIY Doll Christmas Tree Ornaments
The next craft was by me. I have several different ways you can make super-cute ornaments for your doll’s tree, and I love the way they turned out!
 Christmas Craft Collab #3 – DIY Doll Stockings… With a Twist!
The next craft was also by me. Classic stockings are always awesome, but what if you want to make something extra-awesome; something different, special, and unique? Find out how to make both a classic and a stocking with a twist with my tutorial here!
 Christmas Craft Collab #4 – Christmas Decor
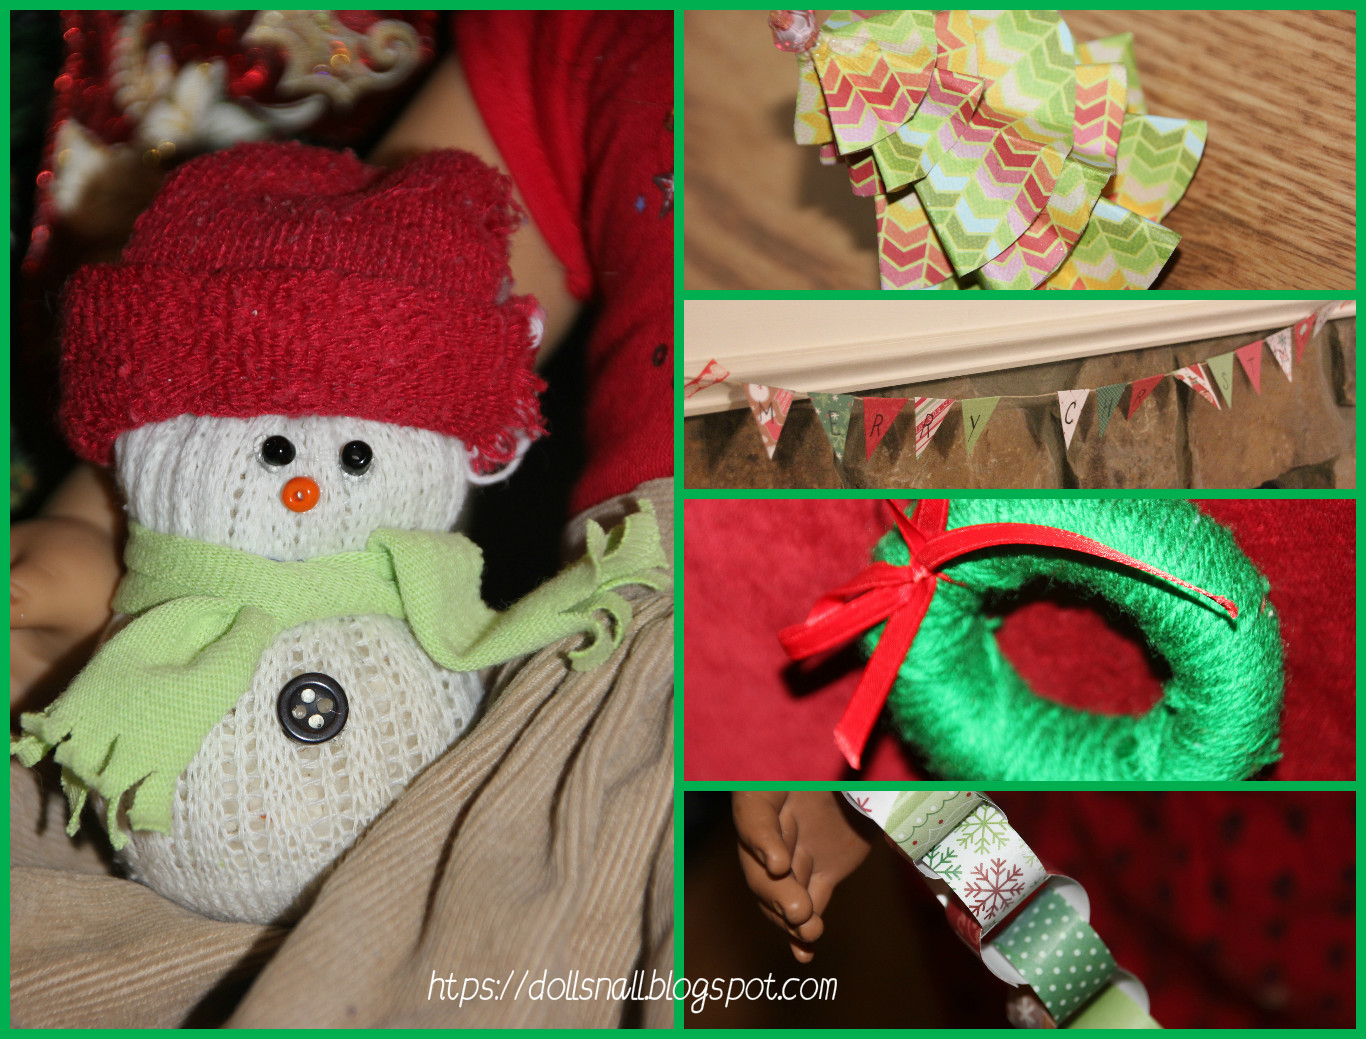
Light4theLord shared tutorials on tons of different ways to make the cutest Christmas decor for your dolls! (Look at that little snowman! Awww! ?) So far, I’ve only made the wreath since my shipment of Christmas paper I ordered was canceled (-__-), but it turned out to be Molly’s favorite Christmas decoration!
 Christmas Craft Collab #5 – DIY Mini Doll Cape and Muff
This is SO cute! You could also probably modify this for 18″ dolls, too! Light4theLord shares a super simple and easy tutorial on how to make the cutest mini doll cape and muff!
Now that you’re all caught up…
… Onto the presents!
Are you ready to get started?
 You Will Need:
- LEGO bricks
- Flat LEGO pieces (the larger, the better)
- LEGO flat plates of whatever size you want the present to be
- Scissors
- Tape
- A marker for writing names, if you prefer; I didn’t use it
- Wrapping paper (this is a perfect way to use up scraps that aren’t big enough for human-sized gifts!)
- Hot glue gun
- Ribbon
- (For smaller presents) Christmas-colored small doll hair elastics
Let’s get started!
For larger dolls (around 18″):
 Pick out the flat LEGO piece you would like the size of your present to be, and begin covering the bottom with LEGO bricks. Make sure they aren’t too long and run off the plate – if they are too short, use other pieces to make up the space. Like Tetris! ?
 Keep stacking the LEGO pieces until you have the height you want. You should have the perfect cube by then.
 Now, begin covering the top with your flat pieces (the bigger pieces make this way easier).
Once the top is completely covered with flat pieces, wrap it exactly like you would any ordinary present!
 IT’S SO CUTE! A teeny-tiny little present! ?
 I hot glued a ribbon to the top of this one, and just a few days later bought these adorable doll-sized gift bows that would’ve worked perfectly. :P I guess I’ll be making some more. :P
You can decorate it with ribbon or stickers, or write the receiver’s name on it (this doesn’t exactly work if the dolls are actually going to open it, though. These are just props and not actual gifts; can you imagine getting a little random cube of LEGO bricks for Christmas? ?)
And of course, you can make it larger or smaller, longer or shorter, depending on the type of larger doll you have or how much of a variety of gifts you’d like. If you have small dolls like American Girl mini dolls or Barbies, the tutorial below will simplify how to make this craft on a smaller scale.
 For smaller dolls:
Get small LEGO bricks – like the 2×2 ones. For longer presents, try a 4×2 or 3×2 brick.
 You can stack flat stud pieces on top to make it taller and then cover it with flat pieces, or if you like the size already, go ahead and cover it with completely your flat pieces.
 And wrap ’em! ?
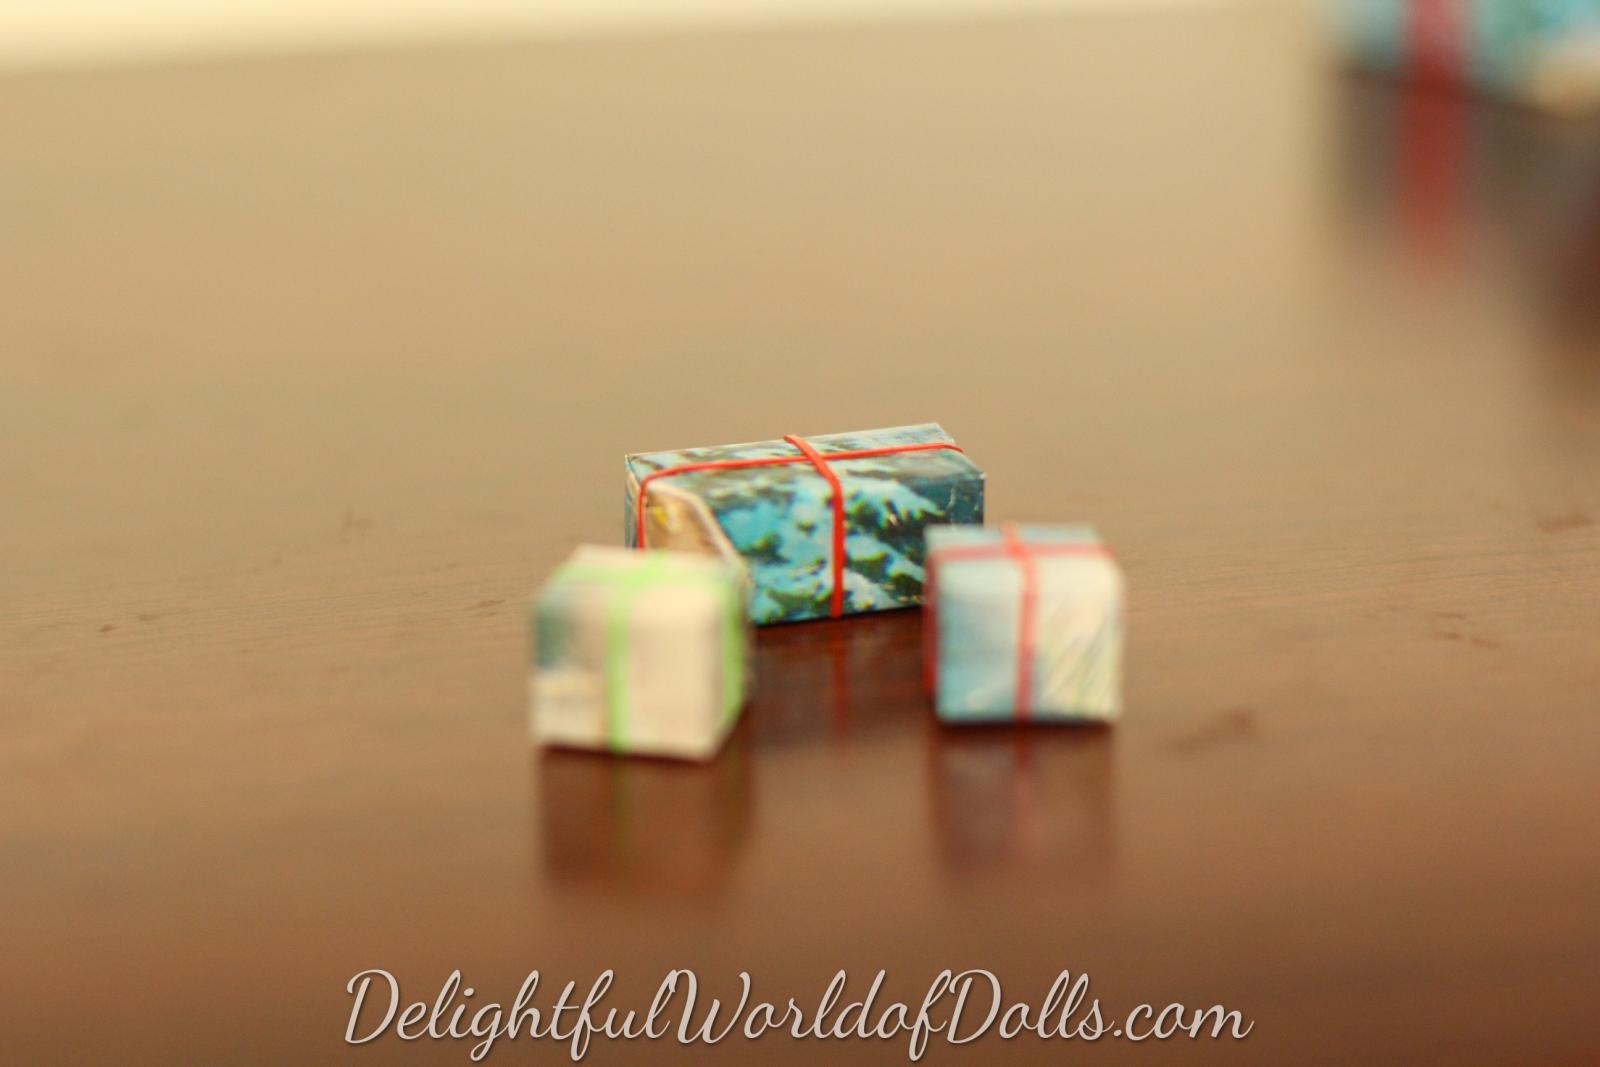 I wrapped Christmas-colored hair elastics around them like this and was planning to hot glue little bead embellishments on top of them. But not a few moments after the hot glue touched the elastics, they snapped! I was surprised, since I did this last year but did not have the same effect. Perhaps it’s my new, easily-breakable brand of elastics I bought for my dolls. *sigh*
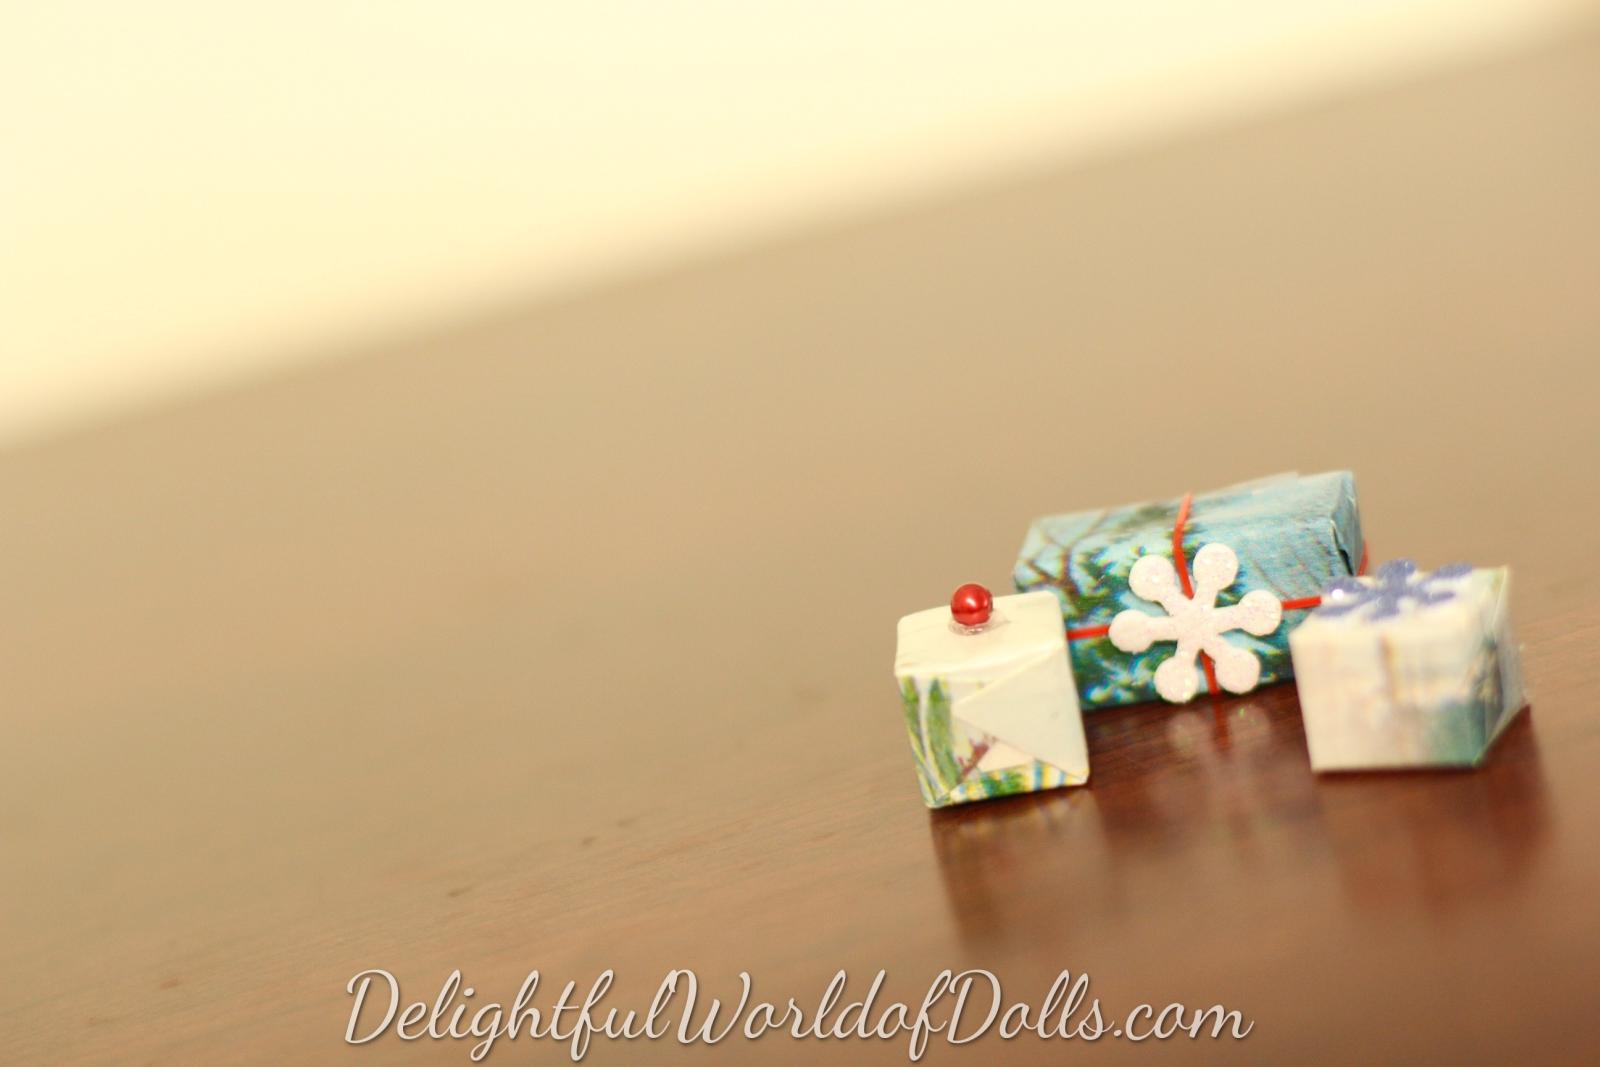 I resolved to sticking mini snowflake stickers on top of them and gluing beads without any elastics. I think they turned out pretty cute! :D


Whatever type and size of dolls you have, this craft is easily customizable to fit them perfectly!


Aren’t they adorable? ?
 A special message from your Olly Molly
If you try out this craft, we would absolutely LOVE to see! Please send your pictures to Mommy’s email address, madison[at]powerofGOD[dot]com. Your pictures will have a chance to be featured in the Christmas Craft Collab Recap on Christmas Eve!
Madi again! :D Stay tuned for what’s coming up next! ;) I had so many exciting things I wanted to pack in this December, I’m having to push ’em over to next year. This December is going to be full of Christmas surprises that I absolutely can’t wait to share!
Merry Christmas, amazing person! ♥
Love,






Hi! What a great craft! You have such an amazing blog and I love how you glorify God with it! I have read your blog for over a year now but have not really commented. Even my mom thinks you’re blog is great! Thanks!
Serving Him in song- Joy
Thank you so very much, Joy! Your comment just made my day! Thank you again! :D
Aw! I love this! This should be great for photo props. Thanks so much, Madie!
Thank you so much! (They should! :D) Aw, you’re welcome! Thank you for your comment! ?
Adorable! Brilliant!! Now… I wonder if my brothers still have the few small legos that they have.. .or if they’ve lost them already! :D I’m definitely going to have to do something like this!
~ Light4theLord
https://dollsnall.blogspot.com
Thank you so much! LOL! My brother is a LEGO fanatic, so he kindly let me use his LEGOs for this craft. ;P :D
What a great idea! I know so many dolls will love all the presents!! :D
~Lydia~ <3
Thank you so much, Lydia! :D :D
What an awesome craft!! I was wondering how i was going to make my dolls presents, and this makes hard easy!! AMAZING craft!! If you wan’t to put a present inside, only put lego bricks around the outside on the flat piece (bottom bit) so the inside is completely empty. You then put the gift inside. Then put a flat lego brick over top and cover with the smooth top pieces. Then wrap like a normal present and ta-da, you have a present, that is not only good for photos, but for opening the presents on Christmas morning photo-shoots!!
Thank you SO much, AGfan! I am so glad you liked it! :D And that is an absolutely genius idea! Thanks so much for sharing! :D
XD XD!! Genius?! :P LOL LOL!! ;) glad you like it!! XD
? Hehe! Of course! LOL! ?
Those are adorable! I’m working on decorating the dollhouse for a post on Monday, so I will be sure to add these lovely crafts to my dollhouse! :D
P.S. My brother is a LEGO fanatic, too. We counted his sets today and he has 61. O_o XD :P :D
P.S. LOL! ? Brothers and their LEGOs… fun as LEGOs are to play with, they are NOT so fun to step on. XD
Haha! I agree wholeheartedly on that one. XD :P
?
Thank you so much, Grace! Ooh, I bet your dollhouse is going to look amazing! I can’t wait to see the post on Monday! :D
You’re very welcome! :D And thank you very much! I’m excited to share it with everyone. :) I’m going to paint the last room tomorrow, and once I get one more bed it will be complete! :D (I can’t wait to share a tour. :) )
Phew, that turned into bit of a ramble, huh? XD :P XD
You’re welcome! That sounds so awesome! And that is SO cool you have a dollhouse (did someone build it for you or was it purchased from somewhere?)! ?
LOL! I ramble a lot… like, all the time. Especially on Loren’s blog. XD
Thanks again! :D Aw, thanks! My dad and I built it. It was a super fun summer project. ;)
Heehee, same here! (One fun and cool thing I noticed is that on almost all of Loren’s posts, we like each other’s comments. :D XD :P It’s fun to find your comment and hit “like,” because, well, I love all of your comments, even when they’re on someone else’s blog! :D )
You’re welcome! Ooh, that sounds like it was awesomely fun! ?
(I know, right? I love liking the comments of other bloggers I know and are friends with! It also feels good when people do it in return. XD Unfortunately, I won’t be commenting on her blogs anymore, so I’ll have to like your comments on other posts I see. ?)
Thanks again! It was. :)
(Yes, it’s so fun! Oh, I’m sorry that you aren’t commenting anymore! I’ll definitely be liking your comments on other blogs. :) )
:D
(It is! Thanks. I’m having to dramatically cut back the amount of time I spend on “audience build”, so I’m only commenting on blogs that either reply back or comment on DWOD. :( Oh well. Aw, thanks! I’ll do the same! :D )
You’re welcome! I understand that completely…it can be hard to find the time for everything! :\ I hope your new “schedule” goes well, ma fren! ? ? ?
It sure can! :/ Aw, thank you so much! ? LOL! ??? Speaking of which, how do you balance your blog with life and stuff? You have your act together so well – your blog is… perfection. ?
You’re welcome! :D
I’m so honored that you are asking me! That makes me so happy, I just can’t explain it. <3
Well, I must admit that I'm not perfect, and that I definitely spend a lot of time on the computer. ;) ? :P But I'm trying to cut back (especially with the new year coming) by trying to budget my time better. Over the break, my mom and I are going to make a list of schoolwork that needs done, so that I have a list of things, because I operate better with lists. ;)
But anyway, for blogging, I've had to drastically cut back on the blogs I follow/read. I have a pretty new system that helps me budget time and also helps me weed out what blogs I read.
In my email, I have a category titled *To Read* . (Side note, the * makes the category be at the top, so I can see it easier.) Every time someone's blog post comes up, I put it into the *To Read* category. On Saturday (or whatever day you have the most time), I go into the category/folder and read the blog posts, as well as comment on them. I haven't quite put this into play yet, but I'm working on having a "Blogging Day," where I schedule posts and read/comment on others' blogs. :)
This "system" also helps me figure out which blogs I really read. If I don't end up reading a blog post, then I unfollow the blog, or don't get email notifications anymore. It's hard, because I want to follow other blogs and help people out, but I've found that "you gotta do what you gotta do," so to speak. ;)
I hope that helps, Madi! Your blog is fantastic and I hope you work out your schedule! :D I'm heading to bed, so I probably won't respond. ;) Zzz…???
Aw, I’m so honored that you feel honored! Hehe! ? <3 :D :D
Thank you SO much! That's a genius system, Grace! I always feel so bad when someone’s post pops up in my reader and I don’t end up commenting on it, but it’s true, “you gotta do what you gotta do.” ;) I’ve had to unfollow a couple of blogs that I do love but just aren’t worth the effort I put into commenting, but it’s actually freed up more time than I realized I was spending on it! O.o I’m going to try out your system and see if it works for me, if that’s okay! Thank you so much again! :D
Aw, thank you so much! Hehe, good night, Grace! Have awesome dreams. ???
Aw, thank you! :D I feel exactly the same way. It’s kinda hard at first, but it ends up freeing up so much of your time. :)
Good luck, my friend! (That’s perfectly fine if you’d like to try out my system. :) )I’m so happy that I could be of some help! :D
Heehee, I slept very nicely, thank you! I slept until 9, which is rare for me and is probably why I feel so rested. :P ?
You’re welcome! :D It sure does. :D
Thank you so much! (And thank you! :D )
Hehe! ? LOL, I know how you feel! XD
?omg
These are so adorable!
I love these!
I can’t wait to make these!
To bad I don’t have any legos?
-Lucky ?
Thank you so much, Lucky! :D Aw, that’s too bad. :( Do you have a brother or friend who might have some? :)
Aww, these are so cute! The mini ones especially look so adorable. :D
Thank you so much, Sarah! Hehehe, I know, right? ?
This is a great idea! They are super cute!
Thank you so very much, Gracie! :D
Hello! This craft was amazing! Your blog is great! We love to see when you post! Our dolls love it too! Thank you for being such a great blogger!
Thank you SO much, Tori and Bella! You just totally made my night! I am so very glad you like my blog! That means so much – thanks a billion!
No problem!
:D
Madi, I was wondering…do you think you’d like to do a Christmas (or other holiday) craft collab with me? It doesn’t have to be anytime soon, but I’d absolutely love to do some sort of collab with you! Thanks! :D
That would be fantastic! I’d LOVE to do a collab with you! :D I don’t know when it would be (it’s going to be pretty crazy for the foreseeable future XD), but if you have any ideas, let me know! :D
Hooray! I’m not exactly sure of everything either, but I’ll let you know of any ideas I come up with. :D Thanks so much! :D
Okay! Perfect! You’re welcome, and thank YOU! ?
Sounds great! Thanks again! :D
:D
Hi, Madi! Ok, first of all I just want to say, that this is the cleverest way to make doll gifts EVER! I also wanted to ask you about blogging…is this platform free? I know it’s WordPress. How did you start out? I really would like to start my own blog, but have no idea where to start!?
Aw, thank you SO much! :D I do use WordPress, but I have my own domain name and my own theme. I started out using Blogger, but in 2013 switched over to WordPress.org, having my own domain name but using the free 2012 theme. I’ve been using it (it was very outdated!) up until just this November, where after a ton of experimenting I used a theme from a company called Avada. I’m not exactly sure on how much that was, but you can create an absolutely free blog using WordPress.com. I would 100% recommend that! Good luck starting your own blog! :D
Hey, Madi, I was wondering how you got started blogging,as I really want to start my own doll blog but don’t know much!
Hey, Natalie! I started out using Blogger, but in 2013 switched over to WordPress.org, having my own domain name but using the free 2012 theme. I’ve been using it (it was very outdated!) up until just this November, where after a ton of experimenting I used a theme from a company called Avada. I’m not exactly sure on how much that was, but you can create an absolutely free blog using WordPress.com. I would 100% recommend that! Good luck starting your own blog! :D
Thanks Madi! Nice to know. My brother the computer whiz can probably help me with themes and domains!
No problem! Good luck on starting your own blog! :D I would love to see it if/when you do start one! :D
This was such a neat post, I really enjoyed it! :D I would try it, but I don’t have any Lego’s or time to do it, LOL! But, it’s a great idea, and your photography is so beautiful and I love all the pictures!! Your dolls are so beautiful!
I sent your card for the Christmas Card Exchange, did you get it yet? ;)
Thank you SO much, Livy! Haha, yeah, I know how that goes. ? LOL! Aw, thank you so much again! ? And as a matter of fact, I just got it today! Thank you so much for sending such an absolutely beautiful card – I LOVE it! I can’t wait to send you one back! ?
I’m so thrilled that you like it so much! I had fun making it! :D I can’t wait to get yours! :D
Caroline, Rebecca and Grace say “hi” to your dolls! :D
I’m super excited to send mine – I hope you like it! :D And my dolls say “hello” to Caroline, Rebecca, and Grace! :D
Oh my goodness Gracious Madi, these are beautiful presents! So creative! I wish I could make them, my brother is VERY protective of his Lego pieces…
I loved the stocking craft as well, I made one for Amelia, because she was the only doll that didn’t have one.
BTW, I’m just wondering, do you use pic monkey for your thumbnails? Because every image with words on it always turns out BEAUTIFUL! So do you have any tips for adding a little “flair” to head images?
Also, I absolutely LOVE to make crafts for my dolls, and I have noticed that you do too! Would you maybe consider doing a Valentines day collab with me in late January? Because you have no idea how fun that would be for me!
Adorable post, Loved it!
-Sam
Thank you SO much, Sam! And LOL! Maybe you could convince him… :P
Aw, I’m so glad you made it! If you’d like, I’d love for you to send me a picture and I’ll feature it in the CCC Recap on Christmas Eve! :D
I use an app for the Mac called PhotoScapeX to edit all of my photos (but do regular stuff like cropping and saturation in Photos). (I use the free version of PhotoScapeX, and it comes with some pretty awesome stuff already, but the full version gives you more filters and frames and stuff like that.) I also download fonts from dafont.com to make my thumbnails unique. I’m SO glad you like how they turn out! That means so much – thank you! :D Hmm… to add flair to my head images, I like making them big and attracting. I also make the picture my featured image, so it’s the first and only picture you see in the WordPress reader/any other reader and the first picture you see when you click on the post. I like to make the picture as interesting, exciting, or mysterious as I possibly can to draw the reader in and make them really want to read the post, kind of like they’re missing out on something awesome if they don’t. I think of what would make me want to click on something and read it – something that would really spark my interest or make me wonder what on earth the post is about. When I think in those terms, it ends up adding flair to the image (or at least I hope so!) To achieve an interesting, exciting, or mysterious look, I like to use a really pretty, good-quality picture and add pretty/exciting filters. I make sure the text is balanced, very easy to read, is exciting to the reader, and… yeah! I guess that’s it! Sorry that was so long – I hope that helped you! :D
That sounds so cool! I would LOVE to do a craft collab with you, too, but I already promised Grace (The Girl Upstairs) I would do one with her at my earliest convenience. I would absolutely love to do one with you next, though! Could I let you know whenever Grace and I schedule our craft collab, that way we could schedule ours afterwards (if you would still like to do one by then)?
Wow! Sorry for such a long comment, Sam! I’m beginning to think long comments just come naturally for me, unfortunately… :P Thank you again for your sweet comment! :D
Great idea! Also have you seen Rouge one yet?
?-Kiki-?
Thank you so much! :D And actually, we just got home from watching Rogue One in theaters! It was AMAZING! Have you seen it yet?
AHH ROGUE ONE!!! I haven’t seen it yet, but my brother has.
Are you planning on seeing it soon? :D
Yes! I saw it on Dec 17! It was great! Who do you like better Jyn or Rey? I made a post about my thoughts on Rouge one. Here’s the link https://cherrycola22.wordpress.com/2016/12/19/rouge-one-my-thoughts-spoiler-free/
?-Kiki-?
Oh my goodness, that’s a hard one! They are both so awesome! XD Ooh, I’m gonna check that out! I think it popped up in my reader, I dunno… Anyway, checking that out now! :D
These are so cute! What a great idea! I especially LOVE the mini doll presents! I might have to make a few of these for our mini girls. :)
ginnie / http://www.fakingitmostly.com